Introduction
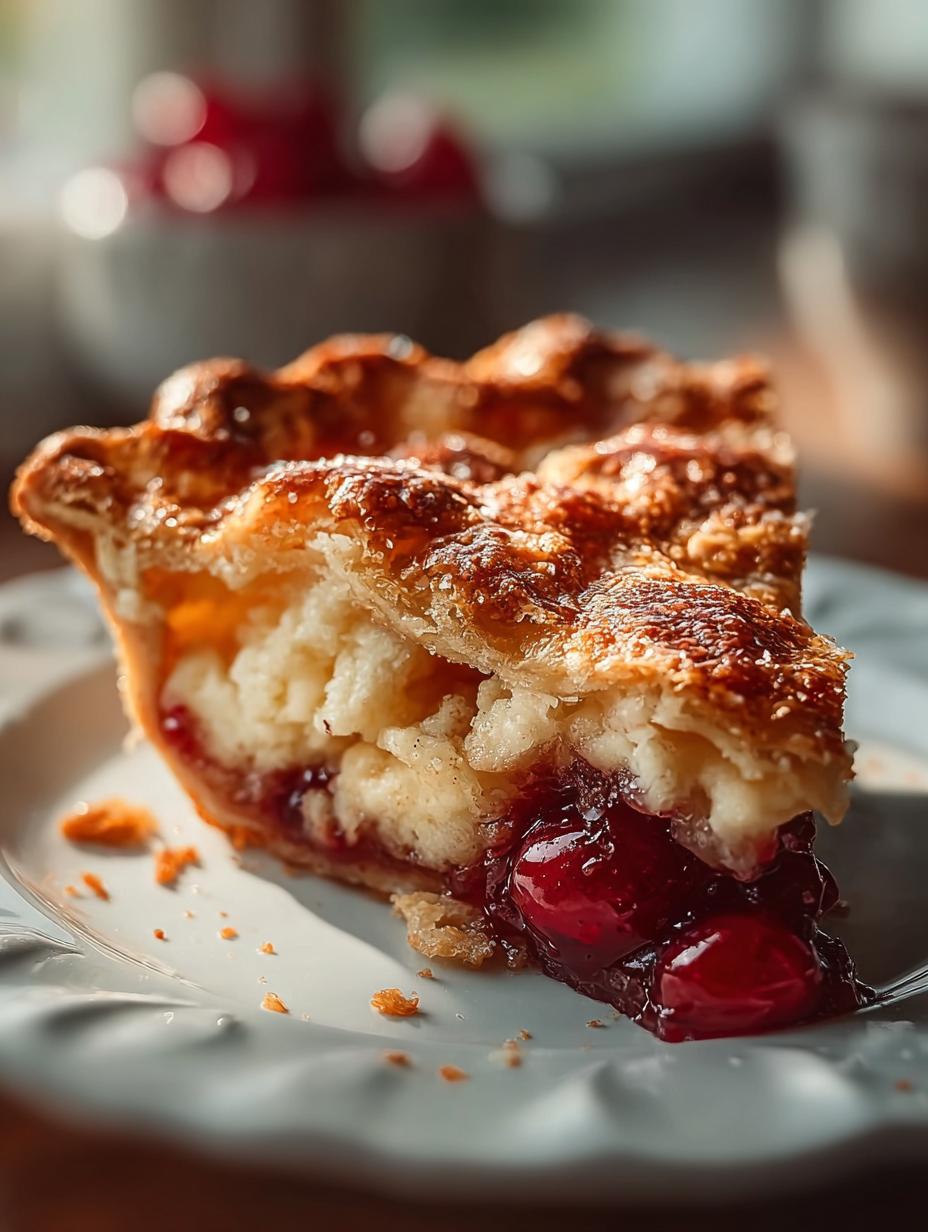
Hillbilly Pie is a delightful, old-fashioned cherry pie that brings back memories of home kitchens where love and simplicity reign supreme. This classic country dessert embodies the essence of comfort food, with its flaky crust and sweet, jammy cherry filling. It’s the perfect treat for gathering family and friends, evoking nostalgia with every bite. Let’s dive into the world of this rustic pie and explore how to create your own warm memories through baking!

Why You’ll Love This Hillbilly Pie
This Hillbilly Pie is not just a dessert; it’s a slice of comfort that encapsulates southern charm. Here are several reasons to fall in love with it:
- Simple Ingredients: Using pantry staples, it’s easy to whip up.
- Quick Preparation: Ready in under two hours, making it perfect for last-minute gatherings.
- Versatile: You can easily switch up the fruit filling to your preference.
- Rustic Appeal: Its homemade look adds a charming touch to any table.
- Perfect for Sharing: Serves 8, making it ideal for family and friends.
- Rich History: Ties back to Appalachian traditions, bringing a taste of heritage.
This pie is truly a classic country dessert that’ll make your heart sing.
Ingredients for Hillbilly Pie
Gather these items:
- 1½ cups all-purpose flour
- ½ teaspoon salt
- ½ cup unsalted butter, cold and cubed
- 3–4 tablespoons ice water
- 1 can (21 oz) cherry pie filling (with whole cherries)
- 1 tablespoon cornstarch
- 1 cup all-purpose flour
- ½ cup granulated sugar
- ½ teaspoon baking powder
- ½ cup milk
- ½ cup unsalted butter, melted
How to Make Hillbilly Pie Step-by-Step
- Step 1: In a bowl, mix 1½ cups flour with salt. Cut in the cold butter until crumbly, then add ice water one tablespoon at a time until the dough just comes together. Press evenly into an 8×8-inch baking dish and chill. (15 minutes)
- Step 2: Preheat the oven to 350°F (175°C) while the crust chills. (5 minutes)
- Step 3: Bake the chilled crust just until set but not browned, keeping it sturdy and flake-filled. (10 minutes)
- Step 4: Stir the cornstarch into the cherry pie filling until smooth and glossy, then spoon evenly over the warm crust. (5 minutes)
- Step 5: In a bowl, whisk together 1 cup flour, sugar, and baking powder. Stir in the milk, then the melted butter, creating a thick but pourable batter. (5 minutes)
- Step 6: Gently pour the batter over the cherries, letting it settle naturally into rustic waves without spreading too much. (3 minutes)
- Step 7: Bake uncovered until the topping is deeply golden and the cherries are bubbling around the edges. (40–45 minutes)
- Step 8: Let the pie rest so it finishes setting and slices cleanly, revealing those beautiful layers. (30 minutes)
Pro Tips for the Best Hillbilly Pie
Keep these in mind:
- This recipe yields a classic cherry pie.
- You can substitute other fruit fillings as desired, like peach or blueberry.
- For extra crunch, consider adding chopped nuts, like pecans, to the topping.
Best Ways to Serve Hillbilly Pie
To enhance your Hillbilly Pie experience, serve it warm with a scoop of vanilla ice cream or a dollop of whipped cream. Pair it with a cup of coffee or tea for a cozy afternoon treat. This rustic pie also makes a wonderful centerpiece for any family gathering or picnic.

How to Store and Reheat Hillbilly Pie
For storing, keep your Hillbilly Pie in an airtight container in the refrigerator. It will last up to 3-4 days. To reheat, place slices in a preheated oven at 350°F (175°C) for about 10-15 minutes, or until warmed through. This method preserves its flaky crust and delicious filling.
Frequently Asked Questions About Hillbilly Pie
What’s the secret to perfect Hillbilly Pie?
The secret lies in using cold butter and ice water for the crust, ensuring it stays flaky. Also, letting the pie rest after baking helps it set properly and makes slicing easier.
Can I make Hillbilly Pie ahead of time?
Yes! You can prepare the pie a day in advance and store it in the refrigerator. Just reheat it before serving to enjoy the fresh, warm flavors.
How do I avoid common mistakes with Hillbilly Pie?
To avoid a soggy crust, make sure to bake it just until set before adding the filling. Also, ensure that your filling isn’t too watery by mixing it well with cornstarch.
Variations of Hillbilly Pie You Can Try
There are many delicious variations of this Hillbilly Pie. You can experiment with different fruits like apples or berries for a unique twist. For a nutty flavor, try adding chopped pecans to the batter. Each variation brings its own delightful taste while still honoring the rustic charm of this southern pie.
For more delicious dessert ideas, check out Pumpkin Pecan Cobbler or Irresistible Peach Upside-Down Mini Cakes. If you’re interested in the history of cherry pie, you can read more about it here.
Print
Delicious Hillbilly Pie: 7 Steps to Comforting Bliss
- Total Time: 1 hour 50 minutes
- Yield: 8 servings 1x
- Diet: Vegetarian
Description
This humble, old-fashioned cherry pie comes straight from generations of home kitchens where love mattered more than fancy ingredients.
Ingredients
- 1½ cups all-purpose flour
- ½ teaspoon salt
- ½ cup unsalted butter, cold and cubed
- 3–4 tablespoons ice water
- 1 can (21 oz) cherry pie filling (with whole cherries)
- 1 tablespoon cornstarch
- 1 cup all-purpose flour
- ½ cup granulated sugar
- ½ teaspoon baking powder
- ½ cup milk
- ½ cup unsalted butter, melted
Instructions
- In a bowl, mix 1½ cups flour with salt. Cut in the cold butter until crumbly, then add ice water one tablespoon at a time until the dough just comes together. Press evenly into an 8×8-inch baking dish and chill. (15 minutes)
- Preheat the oven to 350°F (175°C) while the crust chills. (5 minutes)
- Bake the chilled crust just until set but not browned, keeping it sturdy and flake-filled. (10 minutes)
- Stir the cornstarch into the cherry pie filling until smooth and glossy, then spoon evenly over the warm crust. (5 minutes)
- In a bowl, whisk together 1 cup flour, sugar, and baking powder. Stir in the milk, then the melted butter, creating a thick but pourable batter. (5 minutes)
- Gently pour the batter over the cherries, letting it settle naturally into rustic waves without spreading too much. (3 minutes)
- Bake uncovered until the topping is deeply golden and the cherries are bubbling around the edges. (40–45 minutes)
- Let the pie rest so it finishes setting and slices cleanly, revealing those beautiful layers. (30 minutes)
Notes
- This recipe yields a classic cherry pie.
- You can substitute other fruit fillings as desired.
- Prep Time: 1 hour
- Cook Time: 40-45 minutes
- Category: Dessert
- Method: Baking
- Cuisine: American
Nutrition
- Serving Size: 1 slice
- Calories: 390
- Sugar: 22g
- Sodium: 180mg
- Fat: 20g
- Saturated Fat: 12g
- Unsaturated Fat: 8g
- Trans Fat: 0g
- Carbohydrates: 47g
- Fiber: 1g
- Protein: 4g
- Cholesterol: 50mg