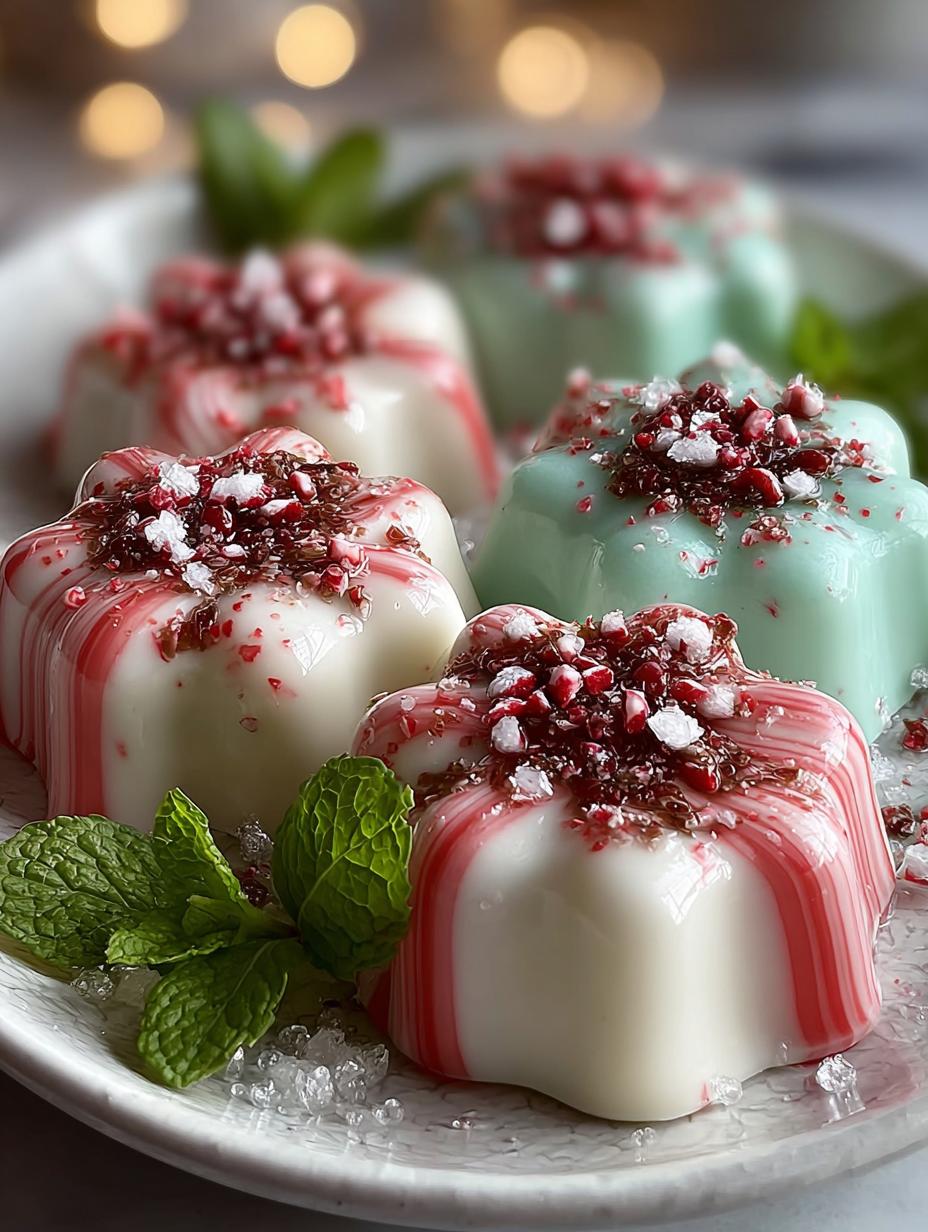
Christmas Peppermint brings a festive charm to our holiday celebrations, especially with the delightful meltaway candy blossoms. These treats not only melt in your mouth but also capture the essence of the season with their creamy texture and sweet peppermint flavor. Perfect for gifting or as part of your holiday cookie tray, they embody the spirit of a Peppermint Christmas, making every moment a little sweeter.
Why You’ll Love This Christmas Peppermint
These meltaway candy blossoms are a must-have this season. Here’s why:
- They are incredibly easy to make, requiring no baking at all.
- The Christmas peppermint flavor is refreshing and festive.
- Perfect for sharing as festive peppermint treats during gatherings.
- They can be customized with colors and toppings for a personal touch.
- An excellent addition to your holiday peppermint-themed party ideas.
- They make charming gifts when packaged beautifully.
- Suitable for various diets, as they are vegetarian.
- They can be made ahead and stored for convenience.
Ingredients for Christmas Peppermint
Gather these items:
- 2 cups white chocolate melting wafers or almond bark
- 2 cups pastel pink and pastel green candy melts
- 1–2 teaspoons peppermint extract (optional, to taste)
- Red sanding sugar or finely crushed red sprinkles
- Optional: 1 drop red oil-based coloring mixed with a bit of melted white chocolate (for splatter design)
How to Make Christmas Peppermint Step-by-Step
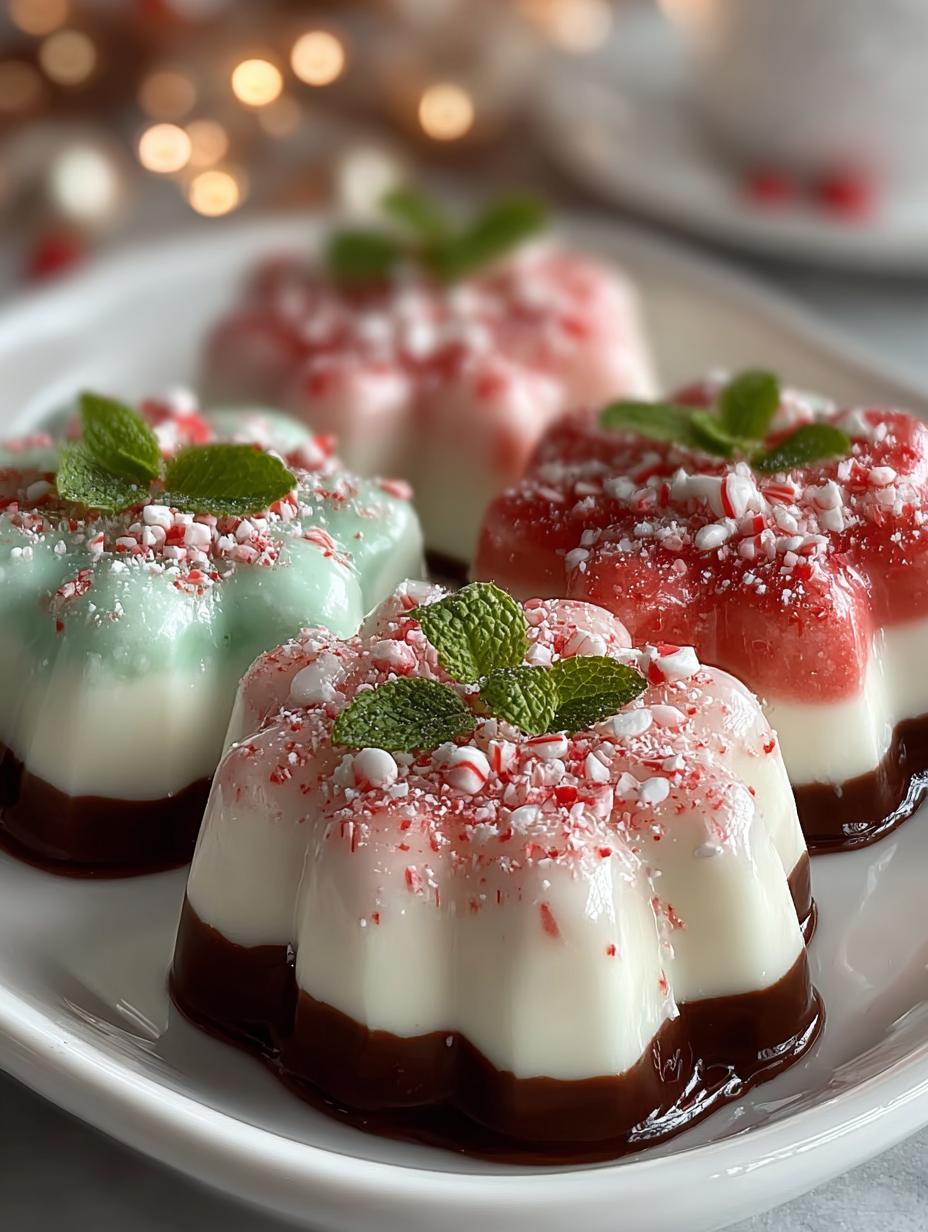
- Step 1: Prepare the molds: Make sure silicone flower molds are clean and dry. Add a pinch of red sanding sugar to some cavities for speckled bottoms.
- Step 2: Melt the white chocolate: Microwave in 20–30 second intervals until smooth. Stir in ½ teaspoon peppermint extract if desired.
- Step 3: Melt the pink and green coatings: Melt each color in separate bowls, adding a tiny drop of extract if you want consistent flavor.
- Step 4: Fill the molds: Spoon or pipe chocolate into each mold. Tap gently to remove air bubbles and smooth the tops.
- Step 5: Add speckles (optional): Lightly dust tops with fine red sprinkles or flick colored chocolate for a splatter effect.
- Step 6: Chill: Refrigerate 15–20 minutes until completely set.
- Step 7: Unmold: Gently pop each blossom out of the silicone mold — they should come out glossy and perfect.
Pro Tips for the Best Christmas Peppermint
Keep these in mind:
- Use high-quality chocolate for the best taste.
- Experiment with different colors for a festive touch.
- Store in a cool, dry place to maintain their texture.
- Tip: Use peppermint essential oil for holiday scents while baking.
Best Ways to Serve Christmas Peppermint
Here are some serving ideas:
- Include them in your Christmas peppermint dessert ideas lineup.
- Pair them with a peppermint hot chocolate recipe for a cozy treat.
- Arrange them on a festive plate alongside peppermint candy canes.
How to Store and Reheat Christmas Peppermint
To keep these meltaway treats fresh, store them in an airtight container in the refrigerator. They can last for up to two weeks, making them a great option for meal prep during the holiday season.
Frequently Asked Questions About Christmas Peppermint
What’s the secret to perfect Christmas Peppermint?
The key is to ensure that your chocolate is perfectly melted and smooth before pouring it into molds. This prevents any clumping and allows for a beautiful finish. Using high-quality ingredients, like premium chocolate and fresh peppermint extract, will enhance the overall flavor.
Can I make Christmas Peppermint ahead of time?
Absolutely! These meltaway candy blossoms can be made several days in advance. Just store them in an airtight container in the refrigerator, and they will remain fresh and delicious for your holiday gatherings.
How do I avoid common mistakes with Christmas Peppermint?
Avoid overheating the chocolate when melting, as it can seize and become grainy. Also, ensure your molds are dry and clean before pouring in the chocolate to achieve a glossy finish.
Variations of Christmas Peppermint You Can Try
Here are some fun variations:
- Mix in crushed peppermint candy canes for added texture.
- Try using dark or milk chocolate instead of white for a different flavor profile.
- Add a splash of food coloring to the chocolate for seasonal themes.
- Incorporate different extracts like vanilla for a unique twist.
For more festive ideas, check out Irresistible Peach Upside Down Mini Cakes or Pumpkin Pecan Cobbler for delicious holiday treats.

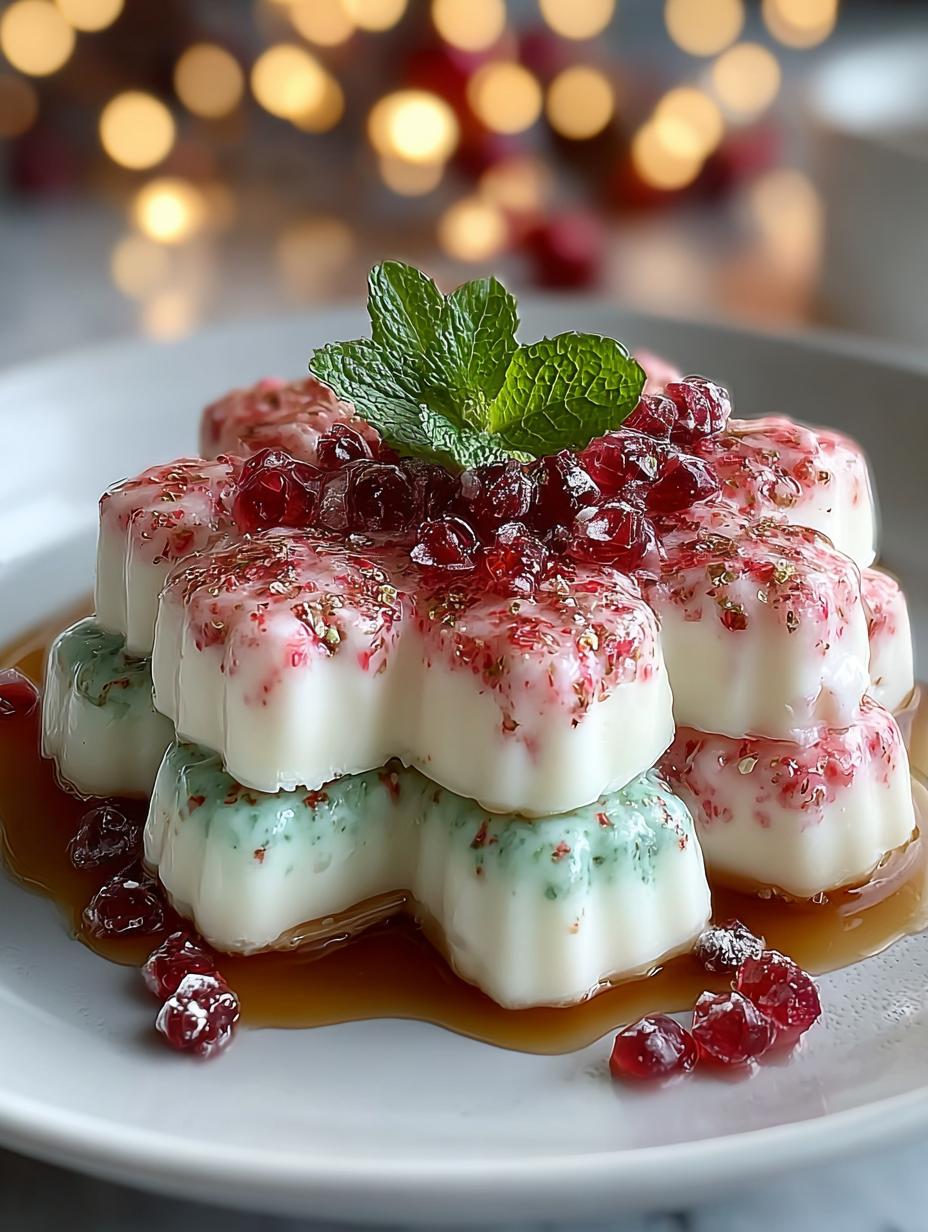
Christmas Peppermint Meltaway Candy Blossoms to Delight
- Total Time: 30 minutes
- Yield: Approximately 24 pieces 1x
- Diet: Vegetarian
Description
These little peppermint blossoms melt the moment they touch your tongue. Soft, creamy, and beautifully speckled, they are perfect for gifting, snacking, or filling your Christmas cookie trays.
Ingredients
- 2 cups white chocolate melting wafers or almond bark
- 2 cups pastel pink and pastel green candy melts
- 1–2 teaspoons peppermint extract (optional, to taste)
- Red sanding sugar or finely crushed red sprinkles
- Optional: 1 drop red oil-based coloring mixed with a bit of melted white chocolate (for splatter design)
Instructions
- Prepare the molds: Make sure silicone flower molds are clean and dry. Add a pinch of red sanding sugar to some cavities for speckled bottoms.
- Melt the white chocolate: Microwave in 20–30 second intervals until smooth. Stir in ½ teaspoon peppermint extract if desired.
- Melt the pink and green coatings: Melt each color in separate bowls, adding a tiny drop of extract if you want consistent flavor.
- Fill the molds: Spoon or pipe chocolate into each mold. Tap gently to remove air bubbles and smooth the tops.
- Add speckles (optional): Lightly dust tops with fine red sprinkles or flick colored chocolate for a splatter effect.
- Chill: Refrigerate 15–20 minutes until completely set.
- Unmold: Gently pop each blossom out of the silicone mold — they should come out glossy and perfect.
Notes
- Prep Time: 10 minutes
- Cook Time: 20 minutes
- Category: Candy
- Method: No-Bake
- Cuisine: American
Nutrition
- Serving Size: 1 piece
- Calories: 90
- Sugar: 8g
- Sodium: 10mg
- Fat: 5g
- Saturated Fat: 3g
- Unsaturated Fat: 2g
- Trans Fat: 0g
- Carbohydrates: 10g
- Fiber: 0g
- Protein: 1g
- Cholesterol: 5mg