
Rice Krispy Treat Bake is a delightful no-bake dessert that brings the classic gooey goodness of Rice Krispy treats into a creamy cheesecake form. This fun dessert is perfect for kids, parties, or whenever you want to indulge in a playful treat. The combination of crispy cereal, marshmallows, and creamy filling makes it a standout dessert that everyone will love. Let’s dive into how to create this scrumptious treat!
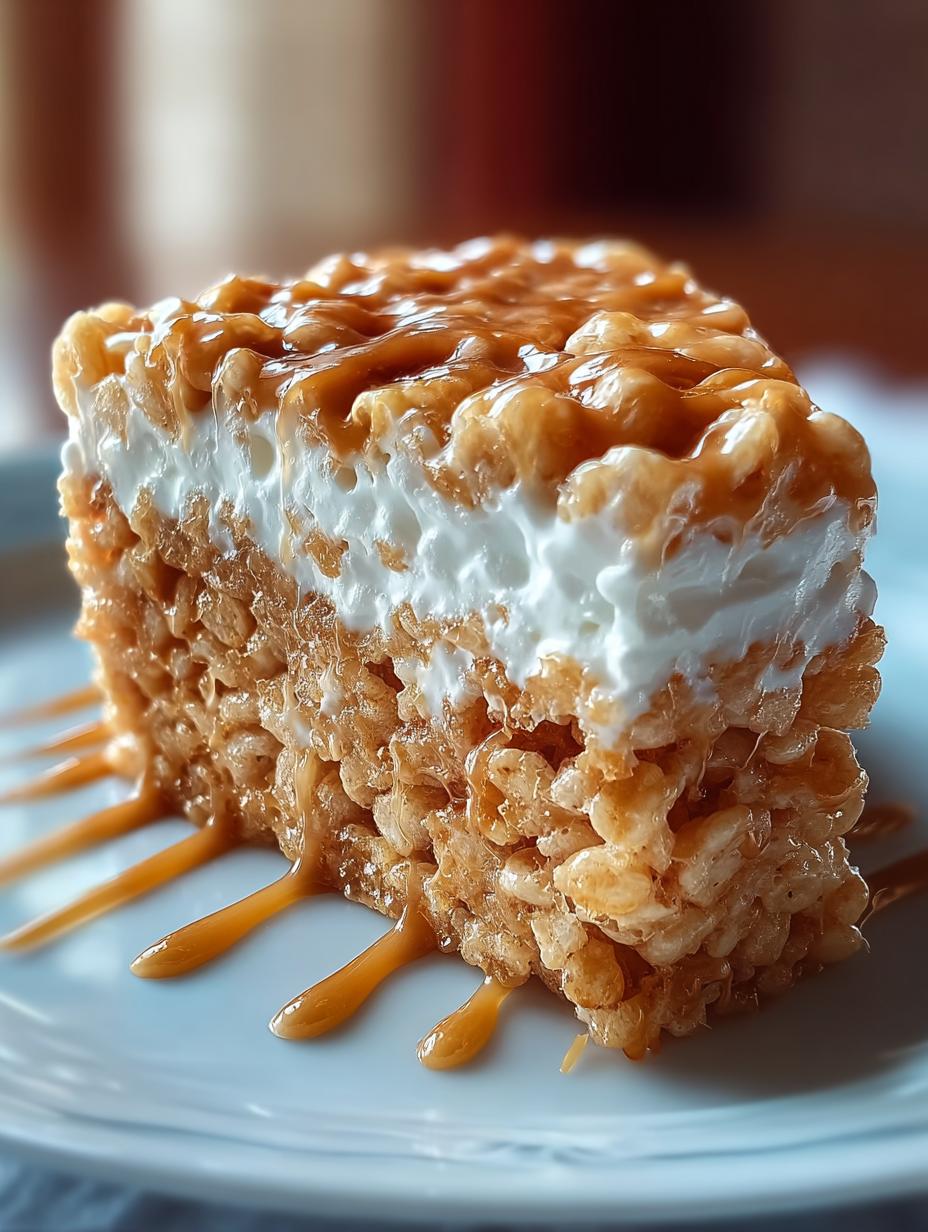
Why You’ll Love This Rice Krispy Treat Bake
You’ll love this Rice Krispy Treat Bake for many reasons. First, it’s an easy Rice Krispy treats recipe that anyone can make. The no-bake method saves time and keeps your kitchen cool, making it ideal for hot days. Plus, it’s a fantastic way to get kids involved in the kitchen! With just a few simple ingredients, you can create a fun and delicious dessert that everyone will adore. The versatility of Rice Krispy treats allows for numerous variations, making it easy to customize this dessert to fit any occasion. Whether you’re celebrating a birthday or hosting a casual get-together, this treat will be a hit!
Ingredients for Rice Krispy Treat Bake
Gather these items:
- 6 cups Rice Krispies cereal
- ¼ cup salted butter
- 1 (10 oz) bag miniature marshmallows
- 1 (8 oz) block cream cheese, softened
- ½ cup granulated sugar
- 1 tsp pure vanilla extract
- 1 (7 oz) jar marshmallow crème (e.g., Fluff)
- 1 (8 oz) tub Cool Whip, thawed
- Whipped cream (homemade or canned)
- Cubed store-bought or homemade Rice Krispy Treats
How to Make Rice Krispy Treat Bake Step-by-Step
- Step 1: Prep the Pan: Generously grease a 9- or 10-inch springform pan with nonstick spray. Set aside.
- Step 2: Make the Crust: In a large bowl, add the Rice Krispies cereal. In a medium saucepan over low heat, melt the butter and marshmallows together, stirring constantly until smooth and fully combined. Immediately pour this mixture over the cereal and stir until evenly coated.
- Step 3: Form the Crust: Transfer the sticky cereal mixture into the prepared springform pan. Using a greased glass or spatula, firmly press it into the bottom and slightly up the sides to create a sturdy crust. Let it set at room temperature for about 15–20 minutes.
- Step 4: Prepare the Filling: In a stand mixer or large bowl, beat the softened cream cheese, sugar, and vanilla until smooth and creamy (about 1 minute). Add the marshmallow crème and mix until fully incorporated. Gently fold in the Cool Whip by hand using a spatula to preserve its airy texture.
- Step 5: Assemble: Pour the filling into the set crust and smooth the top with an offset spatula or the back of a spoon.
- Step 6: Chill: Refrigerate for at least 2 hours, or until the filling is firm and holds its shape when sliced.
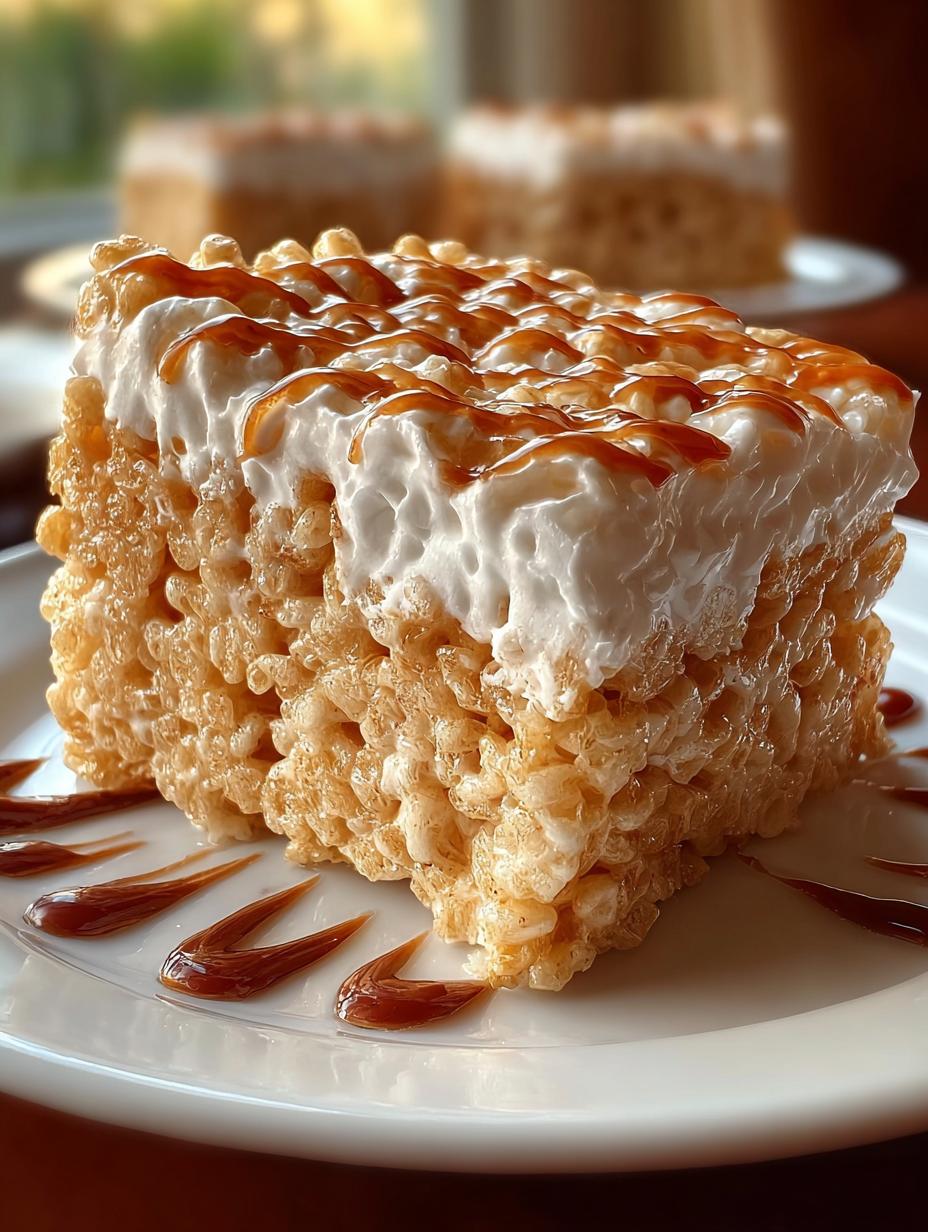
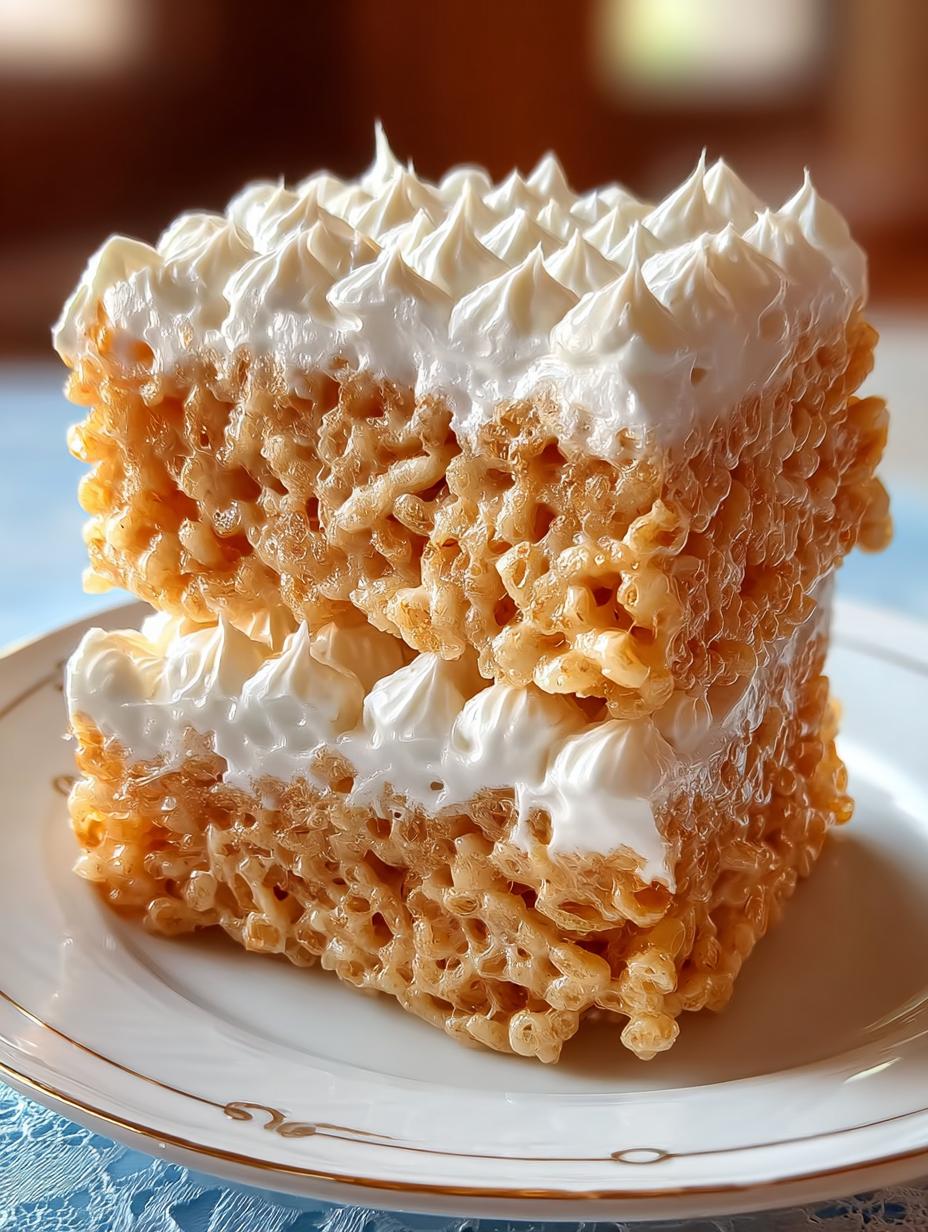
- Step 7: Garnish & Serve: Before serving, pipe or dollop whipped cream around the edge and top with cubed Rice Krispy Treats for a playful finish. Carefully release the springform collar and slice with a warm knife for clean cuts.
Pro Tips for the Best Rice Krispy Treat Bake
Keep these in mind:
- Allow the cheesecake to chill for at least 2 hours for best results.
- Use a warm knife to slice for clean cuts.
- Try adding chocolate chips or sprinkles for extra fun in your Rice Krispy treats with marshmallows!
- This no-bake method is perfect for summer gatherings.
Best Ways to Serve Rice Krispy Treat Bake
This Rice Krispy Treat Bake can be served in various ways. For a fun twist, consider adding different toppings like chocolate sauce or fresh fruits for a refreshing contrast. You can also offer it at kids’ parties as a playful dessert option. Additionally, it’s a great treat to bring to potlucks or family gatherings where everyone can enjoy a delightful slice of this homemade goodness.
How to Store and Reheat Rice Krispy Treat Bake
To store your Rice Krispy Treat Bake, place it in the refrigerator in an airtight container. It can last up to a week, making it great for meal prep. If you want to enjoy it later, you can freeze individual slices, but be sure to wrap them well to avoid freezer burn.
Frequently Asked Questions About Rice Krispy Treat Bake
What’s the secret to perfect Rice Krispy Treat Bake?
The secret to a perfect Rice Krispy Treat Bake lies in the balance of the creamy filling and the crispy crust. Make sure to press the crust firmly and allow it enough time to chill so it sets properly.
Can I make Rice Krispy Treat Bake ahead of time?
Absolutely! You can make Rice Krispy Treat Bake a day in advance. Just keep it covered in the fridge, and it will be ready to serve when you are.
How do I avoid common mistakes with Rice Krispy Treat Bake?
To avoid common mistakes, ensure that your marshmallows and butter are fully melted before mixing them with the cereal. Also, be careful not to overmix your filling to maintain its fluffy texture.
Variations of Rice Krispy Treat Bake You Can Try
There are numerous fun variations of Rice Krispy Treat Bake you can experiment with! Consider a chocolate version by adding cocoa powder or chocolate chips to the mixture. You can also create gluten-free Rice Krispy treats by using gluten-free cereal and marshmallows. For a festive flair, try adding seasonal sprinkles or flavors like peppermint for the holidays!
For more delicious dessert ideas, check out our desserts category. You might also enjoy our Pumpkin Coffee Cake or Irresistible Peach Upside Down Mini Cakes.
For tips on making the perfect Rice Krispy Treats, you can refer to this Food Network guide.
Print
Rice Krispy Treat Bake: 7 Reasons to Try This Delight
- Total Time: 2 hours 35 minutes
- Yield: 8 servings 1x
- Diet: Vegetarian
Description
A fun, no-bake dessert that combines the gooey delight of Rice Krispy treats with creamy cheesecake. Perfect for kids, parties, or whenever you want a playful treat.
Ingredients
- 6 cups Rice Krispies cereal
- ¼ cup salted butter
- 1 (10 oz) bag miniature marshmallows
- 1 (8 oz) block cream cheese, softened
- ½ cup granulated sugar
- 1 tsp pure vanilla extract
- 1 (7 oz) jar marshmallow crème (e.g., Fluff)
- 1 (8 oz) tub Cool Whip, thawed
- Whipped cream (homemade or canned)
- Cubed store-bought or homemade Rice Krispy Treats
Instructions
- Prep the Pan: Generously grease a 9- or 10-inch springform pan with nonstick spray. Set aside.
- Make the Crust: In a large bowl, add the Rice Krispies cereal. In a medium saucepan over low heat, melt the butter and marshmallows together, stirring constantly until smooth and fully combined. Immediately pour this mixture over the cereal and stir until evenly coated.
- Form the Crust: Transfer the sticky cereal mixture into the prepared springform pan. Using a greased glass or spatula, firmly press it into the bottom and slightly up the sides to create a sturdy crust. Let it set at room temperature.
- Prepare the Filling: In a stand mixer or large bowl, beat the softened cream cheese, sugar, and vanilla until smooth and creamy. Add the marshmallow crème and mix until fully incorporated. Gently fold in the Cool Whip by hand using a spatula to preserve its airy texture.
- Assemble: Pour the filling into the set crust and smooth the top with an offset spatula or the back of a spoon.
- Chill: Refrigerate for at least 2 hours, or until the filling is firm and holds its shape when sliced.
- Garnish & Serve: Before serving, pipe or dollop whipped cream around the edge and top with cubed Rice Krispy Treats for a playful finish. Carefully release the springform collar and slice with a warm knife for clean cuts.
Notes
- Allow the cheesecake to chill for at least 2 hours for best results.
- Use a warm knife to slice for clean cuts.
- Prep Time: 35 minutes
- Cook Time: 0 minutes
- Category: Dessert
- Method: No-Bake
- Cuisine: American
Nutrition
- Serving Size: 1 slice
- Calories: 420
- Sugar: 24g
- Sodium: 150mg
- Fat: 18g
- Saturated Fat: 10g
- Unsaturated Fat: 8g
- Trans Fat: 0g
- Carbohydrates: 60g
- Fiber: 1g
- Protein: 4g
- Cholesterol: 30mg